
2024 has been a good year for tomatoes in my backyard garden. Here's a few tomato growing hints that work for me.
Starting from seed
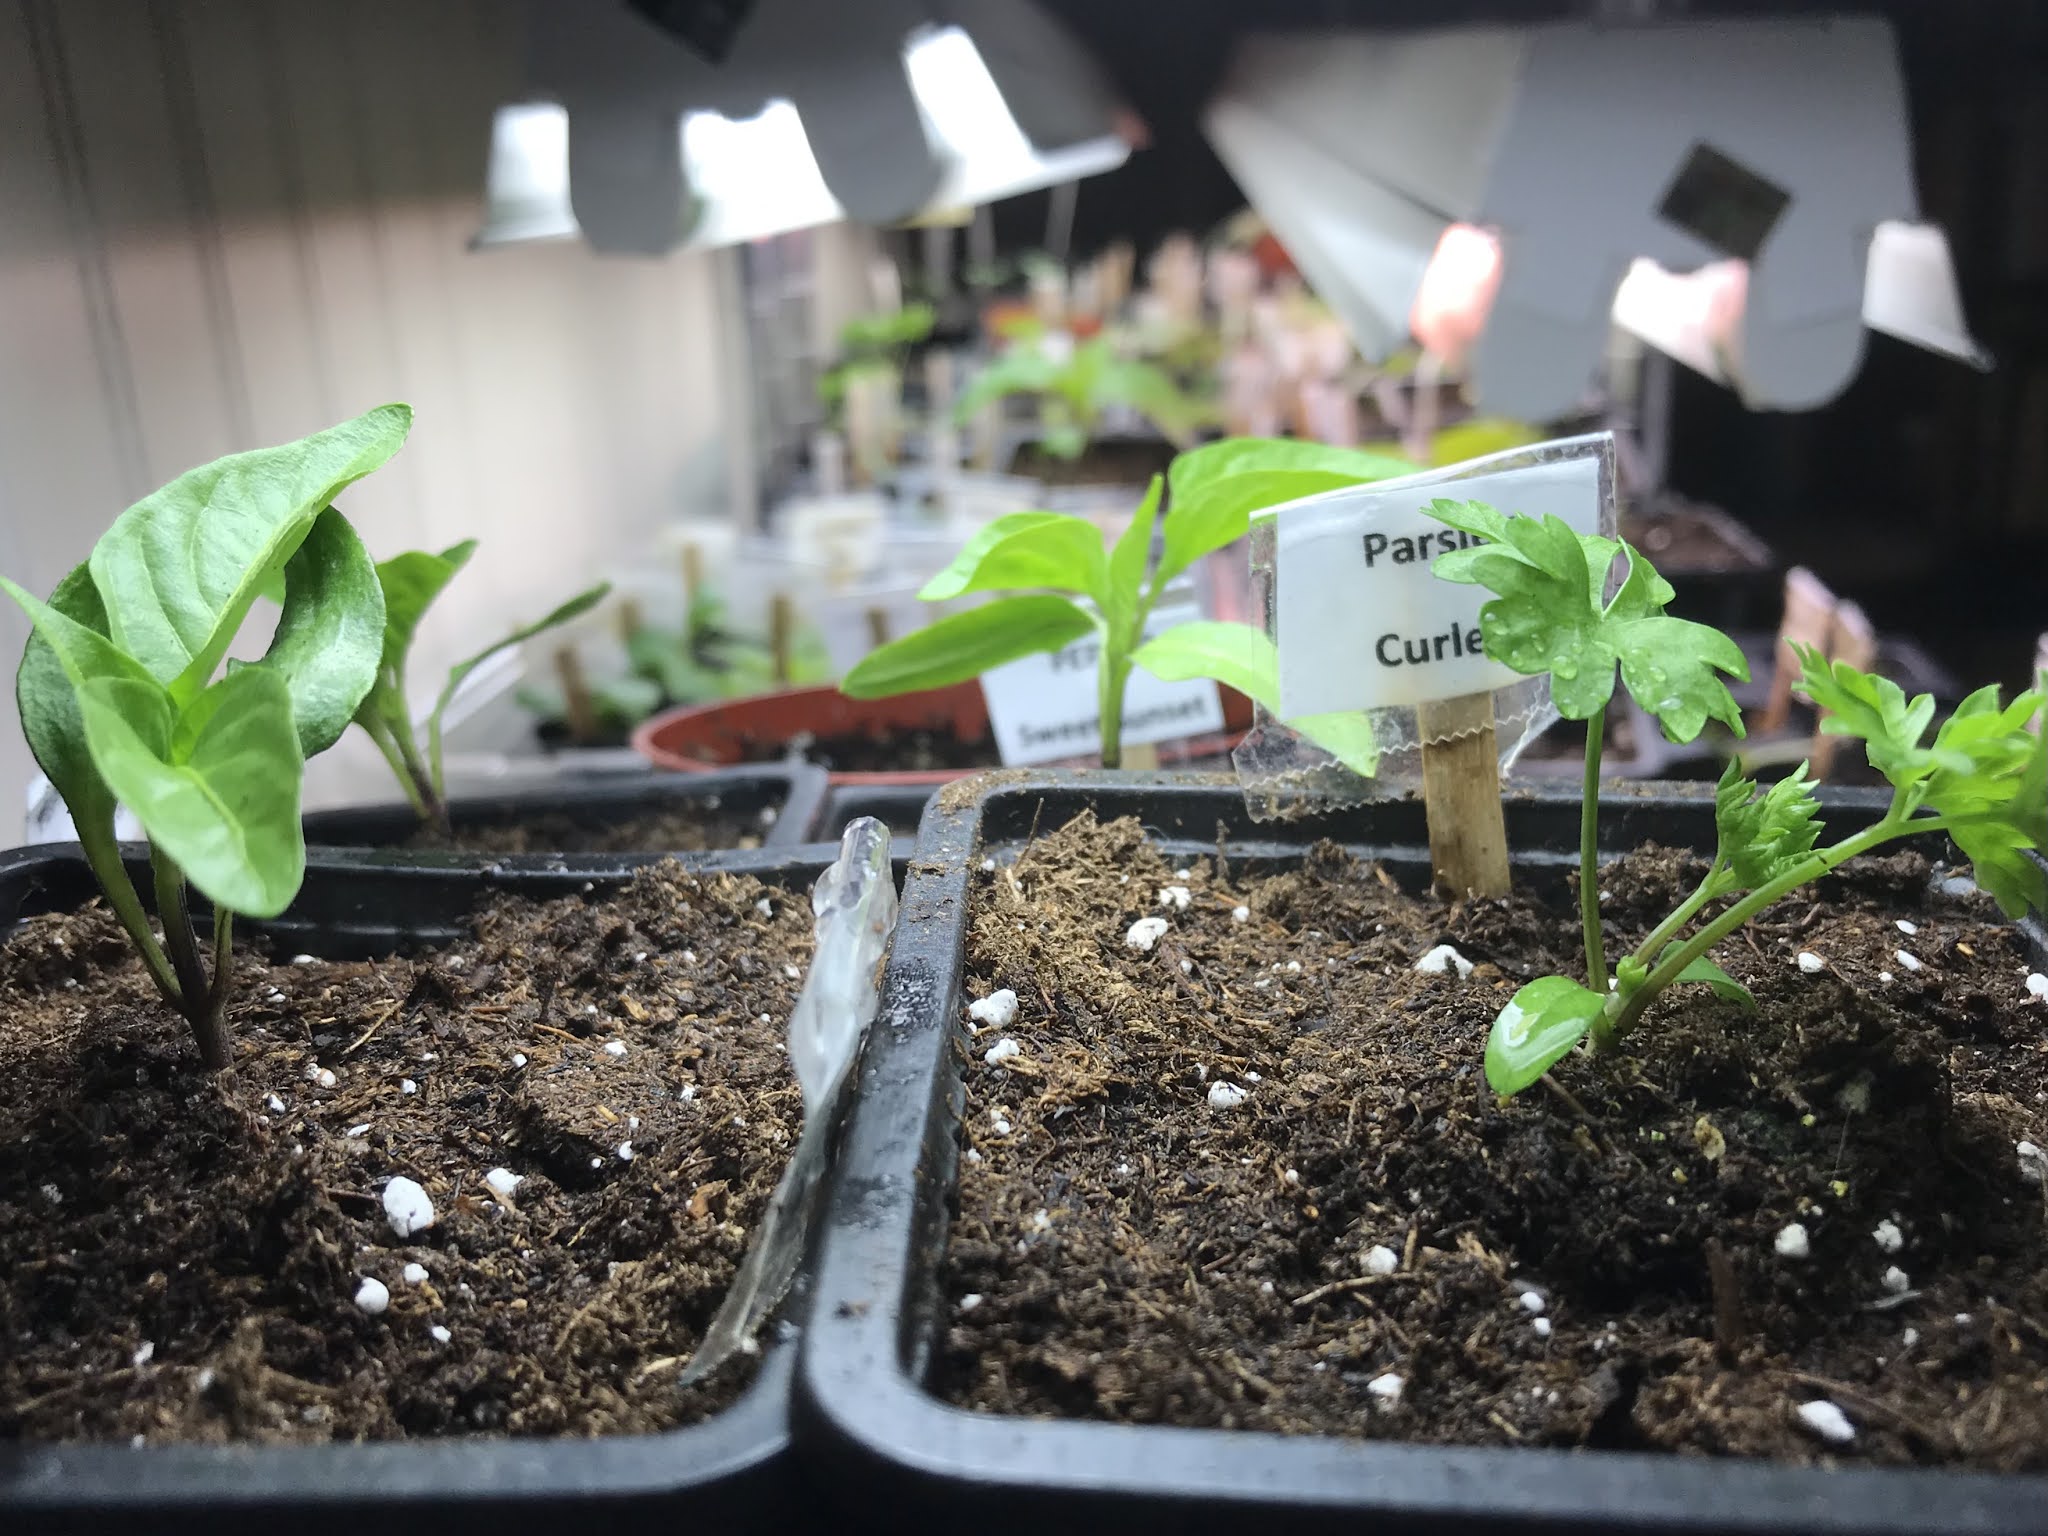
Don't start tomato plants from seed too early. They get leggy and roots become crowded in their pots. Start them from seed in mid - late March, indoors. Once they sprout, immediately put them under lights for 16 hours a day. I usually plant seeds in 4 inch pots in potting mix. If you start them earlier, have bigger pots ready to transplant into. They need artificial light until you plant them out in mid-May. Some seeds are expensive these days, so don't waste them. Tomato seeds are viable for at least a few years, even longer. For expensive tomato seeds, I plant only one seed per pot.
 |
| The tiny orange ones are sweet, tasty Sungold. |
Keep the indoor tomato seedlings growing at a steady pace with ample light. Toughen them by running a low fan over the seedlings, just so they flutter a bit, for an hour or so each day. If the daytime temperatures are warm & it's not too windy, put the seedlings outside for a few hours. Once the seedlings have a couple of sets of leaves, fertilize with 1/4 strength soluable tomato fertilizer every 2 weeks and keep this up throughout the season, even once the tomatoes are in the ground.
Shop around for seedlings
If you prefer to buy already started seedlings check local greenhouses early for 6 packs of tomato seedlings. These are much cheaper than buying individual plants. If you buy them when they first arrive at the store, they should be healthy. I have found 6 packs of Tumblers for $8 (at Home Depot) when the seeds alone sell for about $1 each in a packet from mail order greenhouses. Shop around.
Planting out
As mid May approaches put the seedlings outside for a few hours each day to harden them off. Plant tomato seedlings outdoors into a sunny spot, with early morning sun. Give tomatoes the sunniest part of the garden, with all day sun. A tomato stem grows roots out the side, so bury the stem a few inches deep but wait until the soil is good and warm. Extra roots will take up more water & nutrients for the plant. Plant them 2-3 feet apart. Don’t add tomato plant supports just yet as you might need to cover the seedlings if frost is threatened. When that threat is over, use strong and tall supports. I use a trellis for climbers (like SunGold). Supplement tomato cages with bamboo poles. When the tomatoes grow, they should be well off the ground, tied up, as should all the leaves. When leaves touch the ground, soil born diseases can invade your plants. I snap off the lower leaves. Your tomato plants will get quite large & need strong support. Interplant basil seedlings. Basil is super easy to grow from seed.
Watering
Edmonton has been somewhat dry these past few years. In dry spells, tomatoes need watering. If you plant tomatoes in a raised bed, keep the soil a few inches below the inside walls of the bed. This way when watered, the water doesn't run off. It pools at the base of the tomato plants. Try to get water running towards the base of the plant instead of away from it. Water the plants evenly, the same amount each day, even more when it's extremely hot & sunny. If the leaves wilt the plant needs water. Ideally water them before they wilt. Water at the base of the plants to deter disease. Don't water the leaves or fruit. We mulch the plants with compost (free from the City of Edmonton).
Pruning
Take off the bottom leaves up to the first flowers. As leaves yellow & die, clip them off. As the fruit grows remove more leaves from the bottom up. This way you can see the tomatoes as they ripen. In mid August clip off new flowers. They won't have time to set fruit in the Alberta climate. I do my best to take off the suckers, but as the season progresses, I miss a few.
Harvest
Harvest tomatoes before they are fully ripe. They will quickly ripen indoors, and they will still taste fantastic. If left too long on the vine you may miss picking them, they may attact bugs or birds, or they may crack and soften too much.
 |
| Raised bed with Celebrity. Bottom leaves trimmed off. |
 |
| The red ones are delicious Costoluto Genovese. |
Favourite Varieties
I have been growing tomatoes in our Edmonton backyard garden for over 30 years and all this time I have been after the taste of the tomatoes I had as a kid in southern Ontario. In the Windsor area, in sunny, warm, fertile Essex County, the local tomatoes were absolutely delicious.
Finally, I am satisfied with the flavour of the tomatoes I now grow in Edmonton. A particularly delicious variety is Costoluto Genovese, a medium sized, deep lobed Italian heritage tomato. I also like the sweet fresh burst of flavour of the Sungold cherry tomato, and we grow several plants. Kids love them.
This year I grew CobraF1 (in my little greenhouse). In the main garden I grew Yellow Boy, a classic favourite; Sungold - a sweet orange cherry tomato; an old faithful tomato Celebrity; Tumblers in pots; Juliet -a climbing sturdy small oblong tomato; and Candyland - a tiny currant novelty tomato, that kids like to eat fresh off the bush. If I had to limit plants to 3 varieties I would grow Sungold, Celebrity and Costoluto. Of course, we have had hot, dry summers and these 3 varieties have flourished. I am not sure how they would do in cool damp weather.


